Reproduced from Gault, R., (1992). Amazing Paperclay. Ceramics Monthly, June/July/Aug, 96-99 with permission from Rosette Gault. Some modification in layout has been made to improve screen viewing.
Amazing Paperclay
By Rosette Gault
|
Imagine a clay body that can be used to make large slabs with little or no warping or cracking; has incredible green strength; can be assembled at any stage (from wet to leather hard to dry!); is compatible with your existing glazes; and, when fired, weighs up to 50% less than ordinary bodies. With such a clay, formerly "impossible" construction and firing techniques are no longer taboo, and applications can range from conservative to cutting edge. So what is this miracle body made of Clay and paper.
It took the right combination of people in the right setting to get this process off the ground. During the summer of 1990, a dozen ceramists were in residence at Canada's Banff Centre for the Arts. Abe Wagh, a British painter and graphic designer turned ceramist just over two years ago, shared the results of his experiments in firing mixtures of casting slip and recycled paper pulp. Initially, I, along with Canadians Alec Sorotschynski, Jennifer Clark and Dennise Buckley, tried the process with favorite clay recipes, firing to different temperatures in different kilns. All-porcelain, stoneware, term cotta, earthenware and scrap clays in electric, raku, natural gas and even salt kilns-met with success. The 12 ceramics residents represented a wide range of experience and technical know-how. Many of us had struggled with adding fibers of one sort or the other to clays in the past. While these had improved the green strength, they rarely affected the fired weight or significantly improved any other plastic properties. But adding paper pulp to clay yielded amazing results. After the summer session was over, I continued researching paperclay at Banff with the support of program directors Ed Bamiling and Les Manning; the more work I did with it, the more I came to realize that it was a liberating material for sculptors. |
|
Equipment
The following is a list of studio equipment you'll need to experiment with the process: At least two large, clean, water barrels: one for the paper pulp, for the clay slip. A third empty bucket or barrel is convenient. A heavy-duty drill with blunger attachment for mixing and blending paper and slip. Large screen (s) for straining the paper pulp. Large plaster slab(s) for drying the mixture. (Optional, but useful.) A well-ventilated kiln. 1 use an electric kiln with the lid propped open so the paper burns off completely. Switches are on medium by that time. The smoke should stop after the temperature exceeds 400-500"F, depending on how much paper you mix in your clay. Assorted tools and supplies, including heavy-duty garbage bags, plaster slab, large sponges, plastic mixing stick, large scoop or cup, knife, rasp and serrated knife, plus (optional) bleach and detergent. Paper There are basically two kinds of paper that can be used with clay: Lower grade paper, such as shredded paper from copying machines, works very well. Even office carbon copies or yellow- or pink-colored papers do not adversely affect the mix. Fired results of lower grade paper are relatively more dense and slightly heavier than with higher grade. 1 include certain types of better stationery and/or brochures or leaflets printed on non-glossy paper among the higher grade papers. Higher "rag" content means more delicate fibers. When the paper burns away during firing, a fine-grained lattice like structure results. Wet clay particles are much smaller than paper fibers so they mold to the fibers as they dry. Dos and Don'ts Before getting started, a quick look at some "dos and don'ts' should prove beneficial: 1. Don't use newsprint, brown bags or cardboard if you want a clean, white result. There is too much sawdust grade pulp in their compositions. 2. Do not use glossy brochures or catalogs, unless you are willing to put up with the longer time and trouble needed to break them down into pulp. 3. Do test fire; be sure that you like the clay color. Most inks, including that used in photocopiers, are carbon based and burn out during firing; but ink containing mineral oxides would stain your clay. Testing will also help determine the best proportion of paper to clay for your purposes. 4. Do check the paperclay's maturation temperature; it could change significantly from that of the base clay body. Small amounts of clay are routinely added to commercial papers to improve texture, and the clay in your pulp will tend to raise overall maturation temperature. 5. Do try to avoid papers that have polluting chemicals as by-products in their manufacture. Some people say these chemicals might he released into the atmosphere during firing, with adverse effects on the environment. |
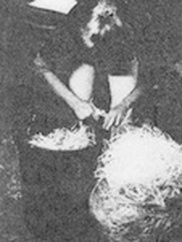
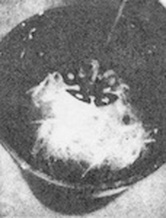
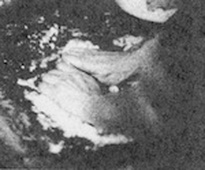
Before paper can be added to clay, it must be made into a pulp. Start with mechanically shredded paper (available free from many offices) or hand-torn scraps.
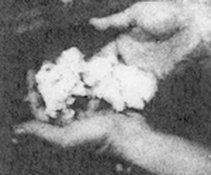
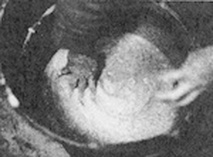
Cover with hot water and soak; then homogenize with a glaze blunger powered by a heavy-duty drill. Add a few drops of bleach to retard mildew and bacteria growth.
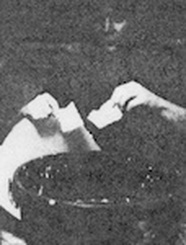
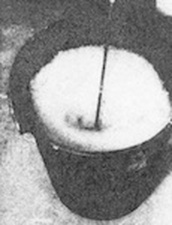
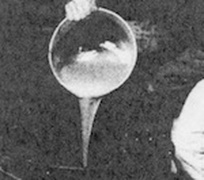
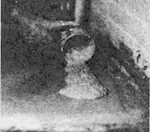
Select an appropriate clay body, then prepare a batch of well-blended slip. Add pulp (anywhere from 20 % to 50 % by volume), using fingers to separate clumps, and blunge.
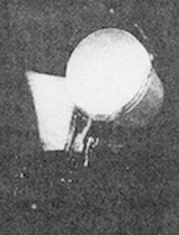
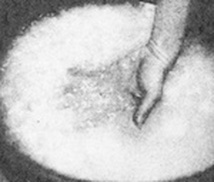
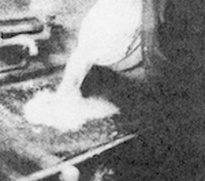
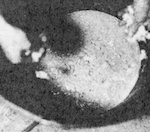
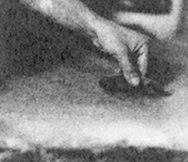
As the paperclay dries to desired consistency, stir with a stick or by hand occasionally. Then pour the paperclay onto a plaster bat and compress with a rubber rib.
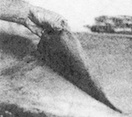
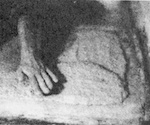
The slab can be peeled off when sufficiently dry or another layer of paperclay can be added at any time – while the slab is wet, leather hard or even bone dry-with little or no cracking. Should cracking occur, it can usually be repaired with more paperclay slip.
|
|
Preparing Pulp
To begin, gather paper or brochures from offices, copy centers or even local paper producers. For already shredded paper, use a large, watertight barrel. Half fill it with the dry, spaghetti like shreds. Pour in clear water, enough to fully saturate each piece of paper. Hot water seems to speed this. Soak as desired. For papers / brochures that have not been shredded, fill the watertight barrel a third of the way with clean water, hot if possible. Tear the paper into 3 x 4 inch scraps. Drop each scrap into the water. The wet paper will start to disintegrate and expand. Some papers are so absorbent they grow like sponges to five or six times their original volume. Soak as desired. To homogenize the pulp, use a glaze-mixing blunger. Add water if the mixture is too thick; it should he very soupy so as not to overtax your mixer. Add a few drops of bleach to retard mildew and bacteria growth, especially if you don't plan to use the pulp within a day or two. When the printing is illegible and the pulp appears to he homogenous, drain, then squeeze out as much excess water as possible. I pour this slurry over a large-mesh screen, pressing water out by hand. Store the mostly de-watered pulp in an airtight plastic bag until you are ready to mix it into clay slip. However, do not let this wet pulp sit for more than two weeks or it will smell worse than a garbage dump. Mixing Paper and Clay Select an appropriate clay body, basing your decision on desired color and texture. If you want a fine surface, use a refined clay, casting slip or porcelain, as well as the highest rag content paper you can find. Prepare a bucket of well-blended slip from your selected clay. I start with about 100 pounds of dry clay per large barrel. This makes about half a barrelful of slip. Consistency should be like thick honey, with or without a deflocculant, such as Darvan. Before mixing paper fibers into the slip, decide how much pulp you want to add. judge by eye. Anywhere from 20% to 50% (by volume) paper pulp added to the slip will work. If just starting out, try about 30% to 35%. Isolate pulp to be added from the origin hatch; otherwise, it is too easy to lose track of how much you already put in. Then you wouldn't know quantities involved in some wonderful clay. You would have to guess again the next time you try to mix it. Keep in mind that the higher the ratio of paper pulp to clay, the lighter and the more porous the fired result; a large amount of paper also will raise the body's maturation temperature. Consider the properties of the pulp de you are using. For paperclay consistency, it is best to have a reliable source of paper. Start mixing the clay slip with a long glaze blunger if you have one. Then stir the slip with a stick and add handfuls of moist paper pulp, mixing thoroughly after each addition. Let stand, sponge out excess water from the top if desired. As the mix dries to desired consistency, stir occasionally with the stick or by hand. Students have reported to me that they have successfully mixed paperclay using commercial clay mixers. If you decide to try this, beware of particles of unsaturated paper; they could cause unwanted pits on the fired surface. As you might expect, paperclay does not wedge like normal clay and, in certain ways, its "window of opportunity' or plastic stage is generally shorter. 1 usually avoid wedging altogether-which is easy to do because the paperclay is already homogenous,-and work with it as a thick slip. Production Paperclay can be handbuilt, cast in molds or poured out onto large plaster bats to make slabs of any thickness. 1 start with a thin layer, let it set up a bit, compress with a rubber rib, then add successive layers of fresh paperclay, successfully building slabs up to 2 ½ inches thick. The plaster will absorb the excess water much more quickly than you might expect. Most slabs produced on plaster do not warp, unless you encourage them to, or if the slab is too thin or the paper-to-clay ratio is wrong. If you do not have a plaster hat, try spreading the wet mix over butcher paper on the floor. Because there is no absorption in the floor and there is evaporation only from the top, floor-dried slabs do tend to warp, which could he to your advantage. However, to avoid warping, turn them over from time to time as they dry. Floor-dried slabs take about five times longer to set up than plaster-dried slabs. |
|
If your paperclay slab does crack inadvertently, try repairing it with a fresh layer of the same mix or with a compatible slip. In most cases you will he happy with the result. Reinforce weak or super thin areas as desired by adding fresh layers of wet and/or dry slabs of paperclay.
Conventional clay items at the bisqued, glazed or even greenware stage may he placed immediately into the wet and/or drying paperclay. There will rarely he shrinkage cracks around them, as would he expected if you were working with a conventional clay body.
Also, it is possible to combine thick and thin paperclay slabs. 1 have built forms that have 2 ½ inch- next to ¼ inch-thick elements.
Even bone-dry sections can be assembled, using wet paperclay as an adhesive. For best results, quick dip the ends of dry pieces in water or sponge joints with water and/or slip before scoring and assembling with paperclay. When these joints dry, you can build up or fill in areas by adding more wet paperclay as desired.
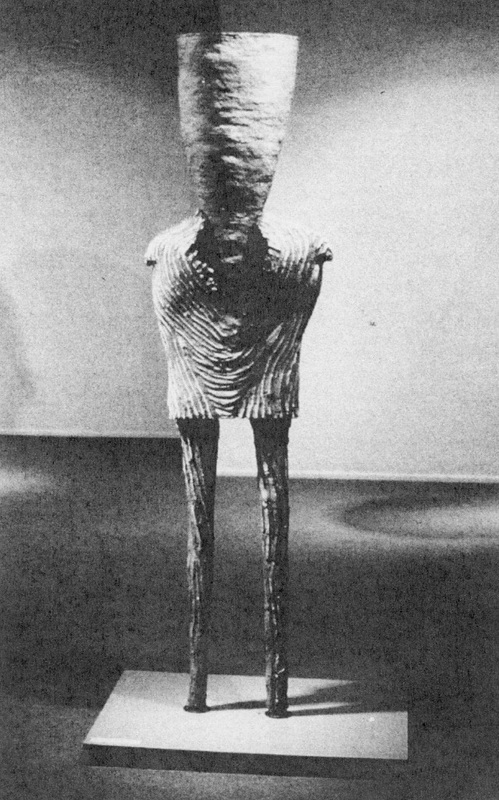
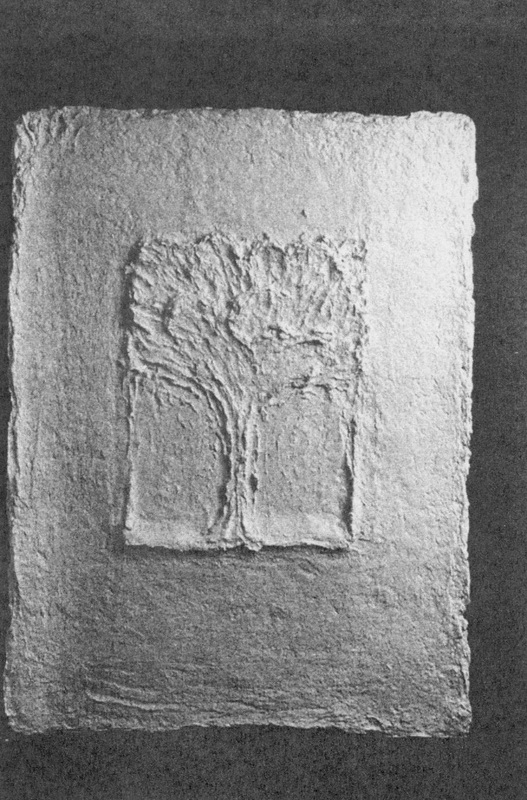
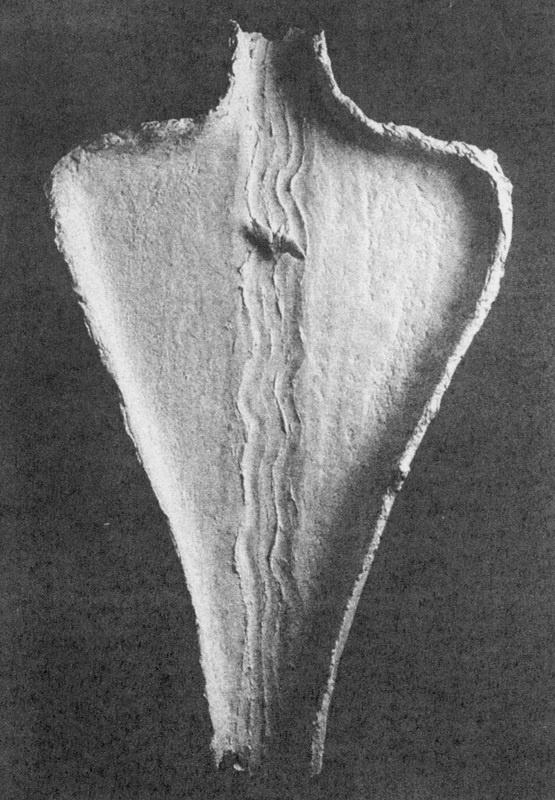
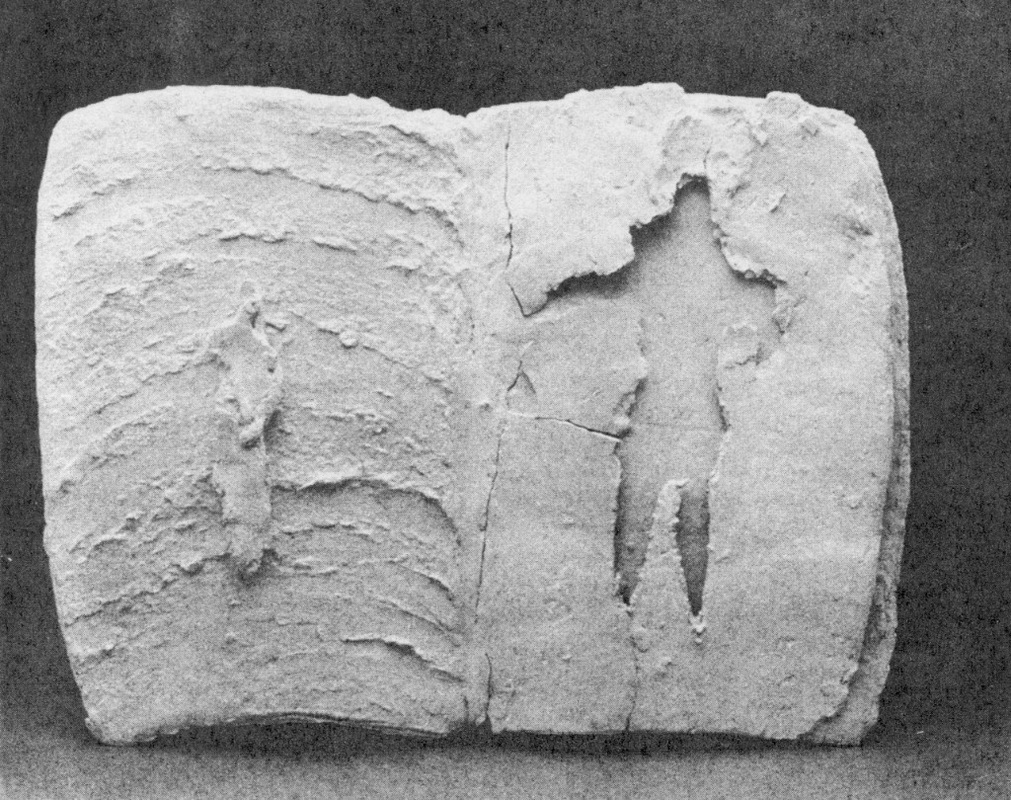
As with ordinary clay, all kinds of surfaces (from burnished smooth to scored rough) are possible. There appears to be no limit to what can he done with paperclay. Recently, Alec Sorotschynski commented: "I've worked with clay and its many aspects for over 20 years, and the addition of paper is one of the most exciting processes I've tried yet. It once again changes the rule book.'
The author: Clay sculptor Rosette Gault resides in Northampton, Massachusetts.
Reproduced from Gault, R., (1992). Amazing Paperclay. Ceramics Monthly, June/July/Aug, 96-99 with permission from Rosette Gault. Some modification in layout has been made to improve screen viewing.
