Spraying Paper-Reinforced Clay
by W. Lowell Baker
Over the course of history, individuals have added a variety of tempers to clay bodies to improve working qualities and dry strength. In the 1960s, a number of ceramics artists worked slip into fiber-glass cloth and draped the slip-laden material over a variety of forms to create thin veils of clay. In the 1970s and '80s, nylon fiber was added to allow artists to develop thin but tough clay sculpture. In the 1990s, cellulose fiber was added [o enhance wet working characteristics, increase the leather-hard and bone-strength, and to allow repairs and reworking of bone-dry forms.
Like many ceramics teachers, I have provided my students with information about this cellulose-reinforced day (paper clay) and encouraged them to experiment. This experimentation has led some of my students to work with a jersey fabric soaked in a slip of reinforced clay to form single-use saggars. In developing this process, however, we found that the fibre-reinforced saggar was often more interesting than the piece it contained.
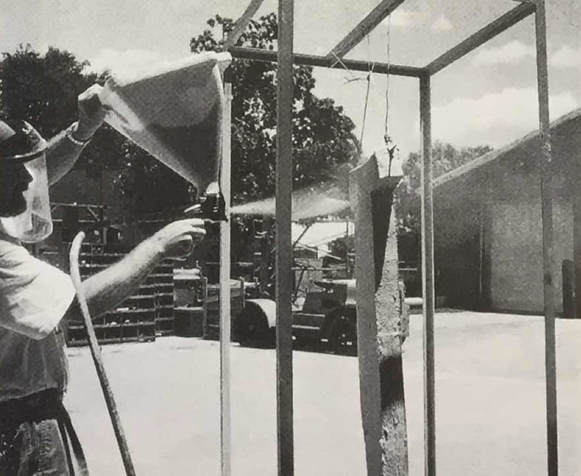
Subsequently I looked to industry for a way to blow the slip into a mold or over a form made from materials that would burn out in the firing. After some experimentation, I found that two common and relatively inexpensive tools are suitable. The best tool for applying. Iarge quantities of thick slip is the Goldbladr Pattern Pistol. The low-price model of this tool can be purchased from most paint-supply stores or lumberyards for about $70. It was designed to spray textured paint and stucco onto walls and ceilings.
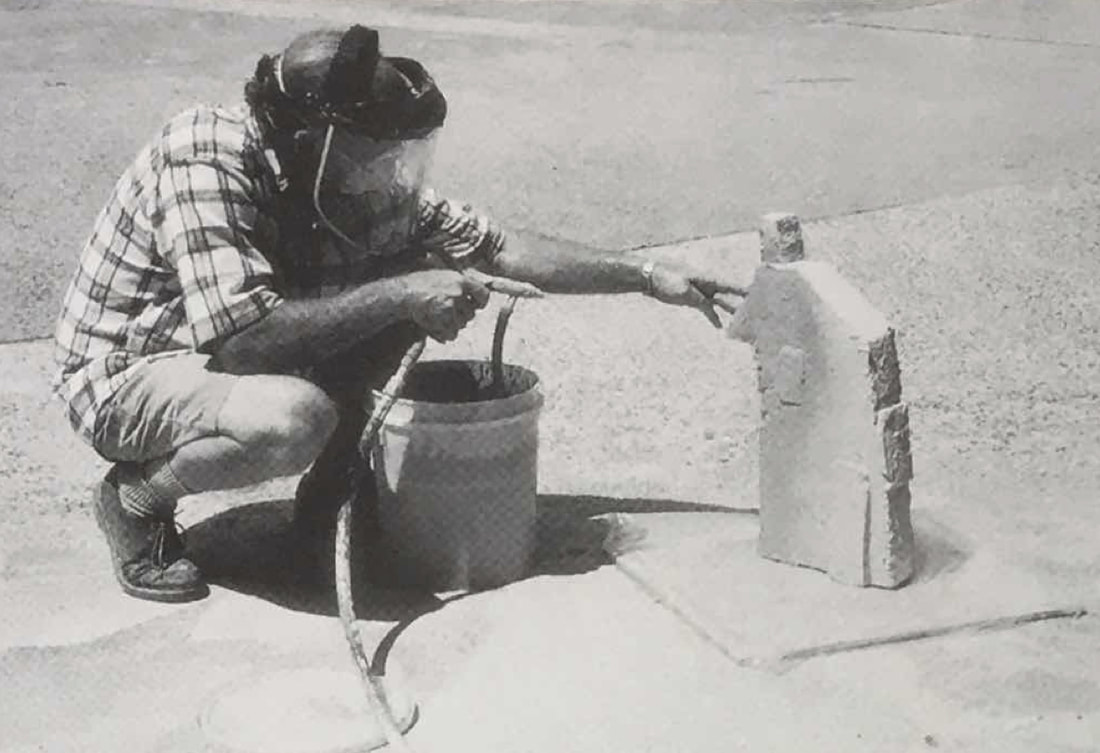
The second tool I have used to spray clay is a nonpressurized sandblaster, which can be found for as little as $12 at many auto-supply stores. It is most effective when used to apply thin coats.
|
|
Spraying Clay Body
(Cone 10) Custer Feldspar...........................3.0 lb
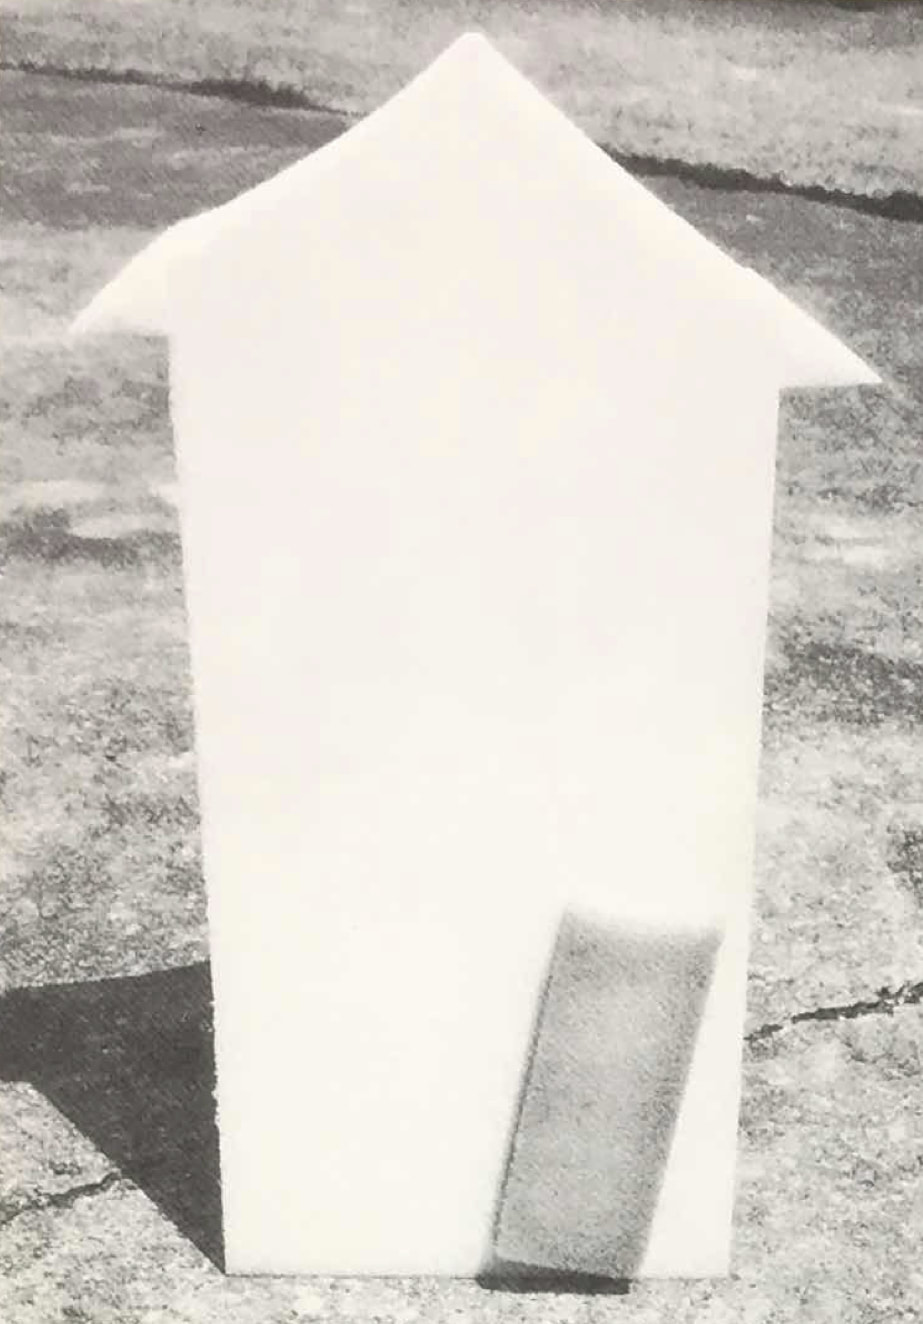
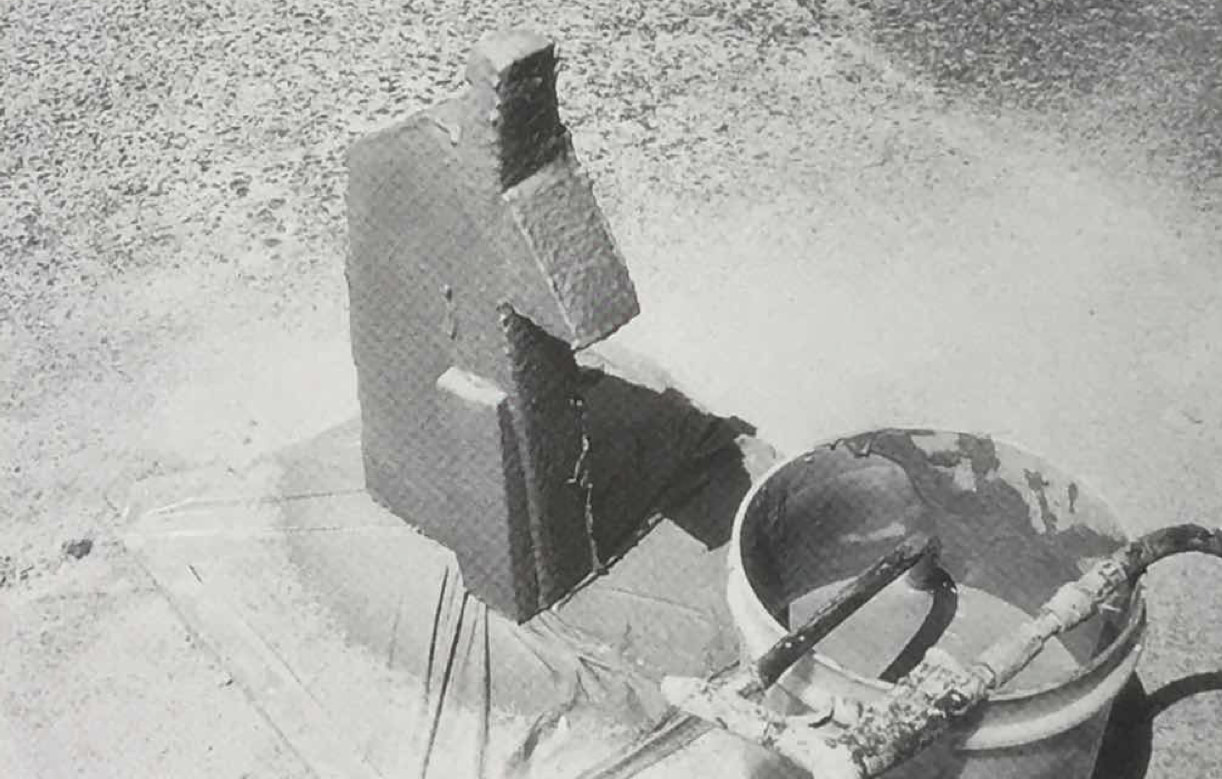
Cedar Heights Goldart.........15.0 Hawthorn Bonding Clay.....25.0 Flint.......................................................3.0 Fine Grog......................................... 5.0 Dry Paper Fiber .......................... 1.5 52.5 lb Add 3 ounces sodium silicate. My source of paper fiber is linter from regional paper mills, but any high-quality linter would do. This recipe yields a fibrous body, which works well for quickly building thickness in the wall of the piece. I sometimes reduce the fiber content to 0.75 pound for a more dense surface coat. The addition of 0.5 pound Zonolite, a form of expanded mica, gives an interesting surface texture, as well as quickly adding bulk to the wall thickness. Forms can be constructed from any lightweight combustible material. I prefer to use foam rubber, which can be shaped with a bandsaw, or cut with a knife or scissors. Additional pieces may be glued to the core with a high-quality contact cement. Once the form is complete, it is placed on a sheet of plastic so that overspray may be easily retrieved and remixed into the batch. Due to the overspray, I prefer to work outside. |
|
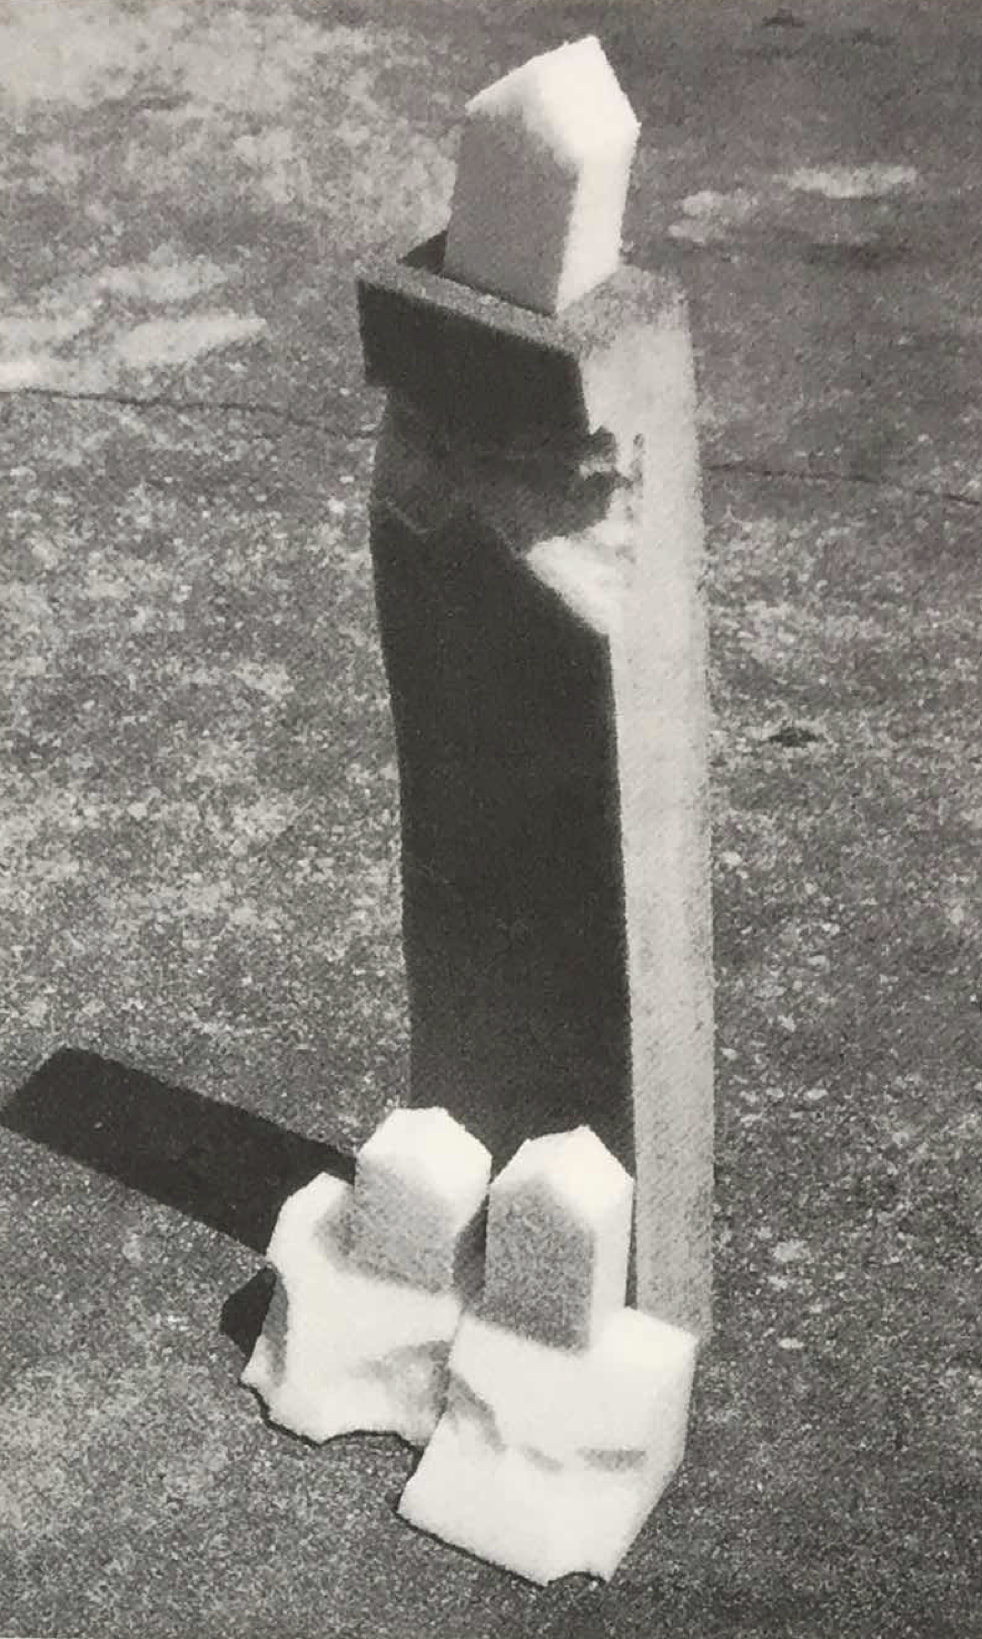
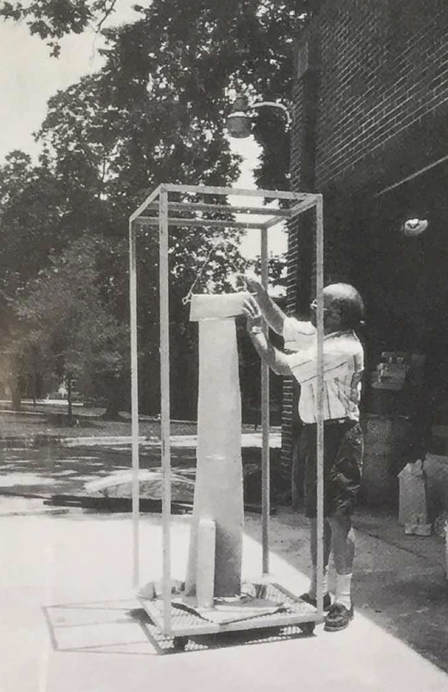
Larger forms may be suspended to help support the weight of the initial coats of slip and prevent the form from distorting; however, before the form is suspended, a thick layer of slip should be spread over the bottom of the form, or a thin slab of plastic clay may be placed underneath to build the bottom. After spraying, the bottom of the foam form should be slightly compressed and placed firmly on a plastic-covered base to allow for the slight clay shrinkage during drying.
If the form is small, there is no need to suspend it. Just be sure to rotate while spraying to ensure complete and even coverage. The slip is mixed to the consistency of thin mayonnaise, then placed in the hopper of the Pattern Pistol and sprayed directly onto the form. If you choose to use a sandblaster, the slip must be slightly thinner. I recommend about 35psi air pressure. Just a few safety precautions: do not point the spraying device at your skin, avoid breathing mist from the sprayed slip, and avoid breathing dust from subsequent carving or sanding. |
The thickness of each layer depends on the paper-fiber content, the viscosity of the slip and the size of the piece. I have found that layers of between 'Is and 1/16 inch seem to work best. Be careful not to spray any single coating too thickly or sagging will result. As the shell dries, additional coats are applied to develop the final wall thickness. Thorough drying between layers produces the strongest walls.
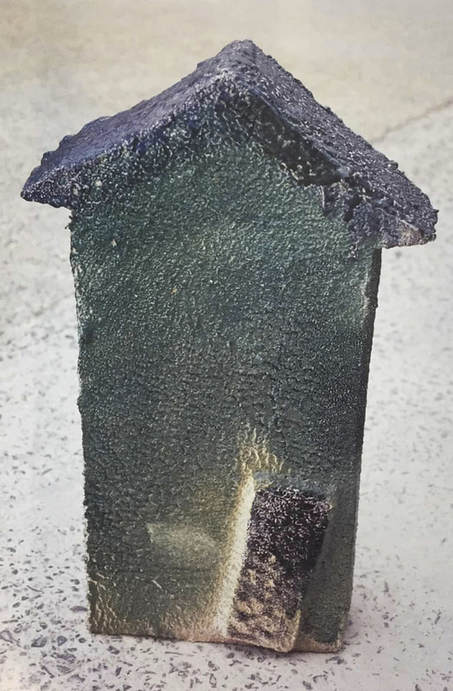
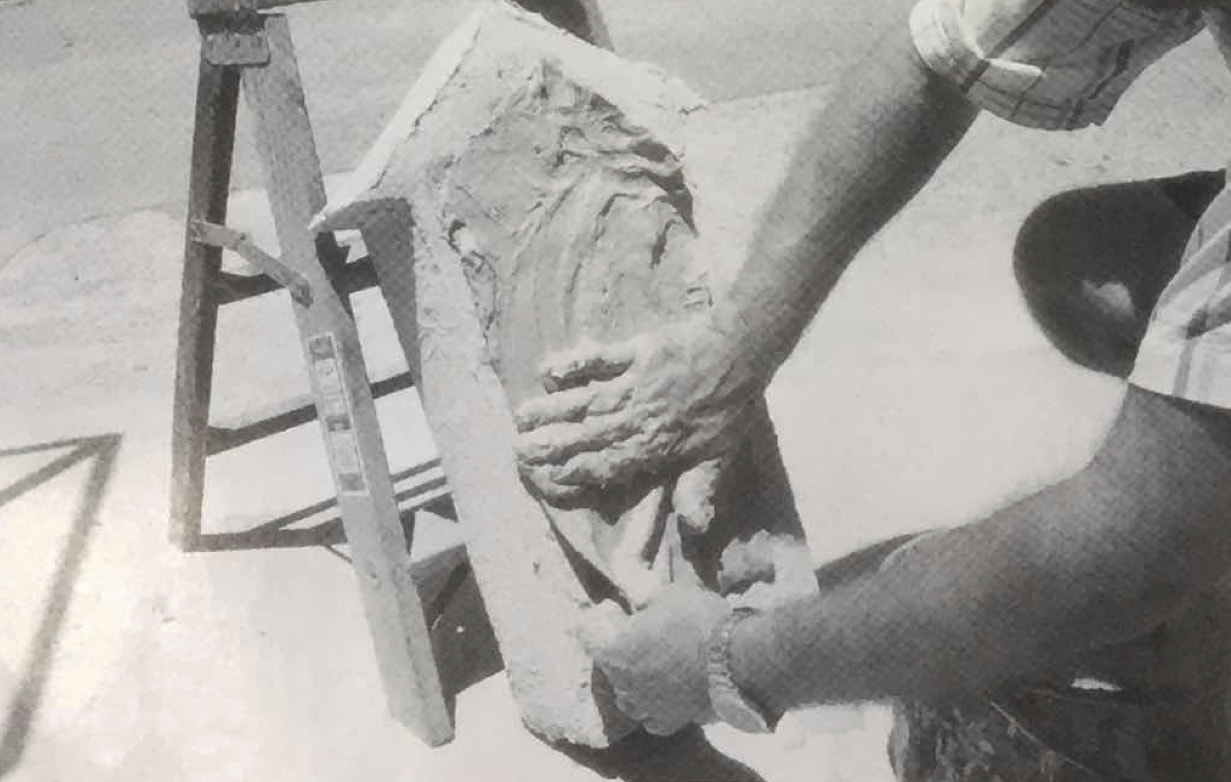
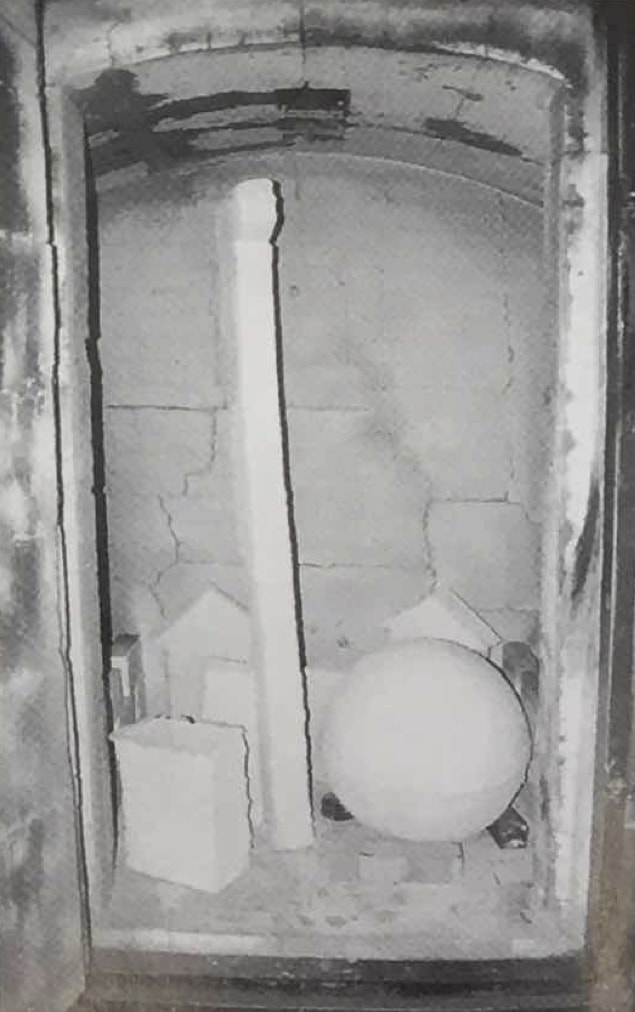
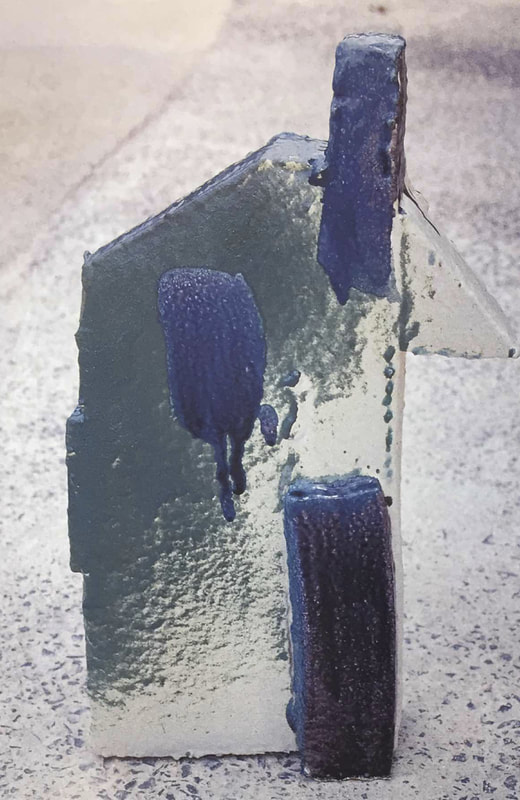
Ofter two or three coats of slip have been applied and allowed to dry, smaller forms will be self-supporting. Additional layers provide enough thickness for a wall that is strong enough to support itself in the firing. Pieces 2 feet in height require a finished wall thickness of at least 1/4 inch. Taller pieces will require thicker walls. Wall thickness and fired strength are difficult to judge, however. I have found pressing on the form with your hand will give you a good indication of its strength. As you press, you should feel a rigid wall with no cracking. If you crack the wall, it can be repaired by simply spraying on additional layers of slip. I have also used slip-coated pieces of fabric to patch structural cracks, as well as to create decorative elements. The wet-to-dry shrinkage of sprayed, fiber-reinforced clay is less than 2%. Once the final layer of slip has been applied, the work may be loaded into the kiln and fired. Firing a ceramic shell that contains foam rubber should only be done in a well-ventilated space, as the gasses from the burning foam are exceptionally noxious and potentially hazardous. I have also had very good results using core forms made from corrugated cardboard and other combustible materials. These forms will produce less gas and smoke than the foam, but still require well-ventilated kilns. It is best to fire any fiber-reinforced clay in a fuel-burning kiln with a flue vented to the outside. The sandblaster has proven to be a good tool for applying glazes onto large forms as well. The surface texture of the sprayed clay is enhanced by the layering and overspraying of a variety of glazes. The largest sprayed-slip piece I have made to date is slightly over 5 feet tall, with a finished weight of only 18 pounds. The only limitation appears to be the size of the kiln. |
Reproduction of Baker, W L (1998) Spraying paper-reinforced clay. Ceramic Monthly, 46 (9), 46-49, with author's email permission 29 Nov 2017.
